The average American household throws away $1,500 worth of food every year! I remember standing in my kitchen five years ago, staring at a trash can overflowing with plastic containers, spoiled produce, and food packaging. That moment changed everything. Today, my kitchen generates less than one small bag of waste per month, and I’m saving over $200 monthly on groceries. Whether you’re motivated by environmental concerns or looking to cut costs, I’ll show you exactly how to transform your kitchen into a zero waste haven – no perfection required!
7 Steps to Create a Zero Waste Kitchen
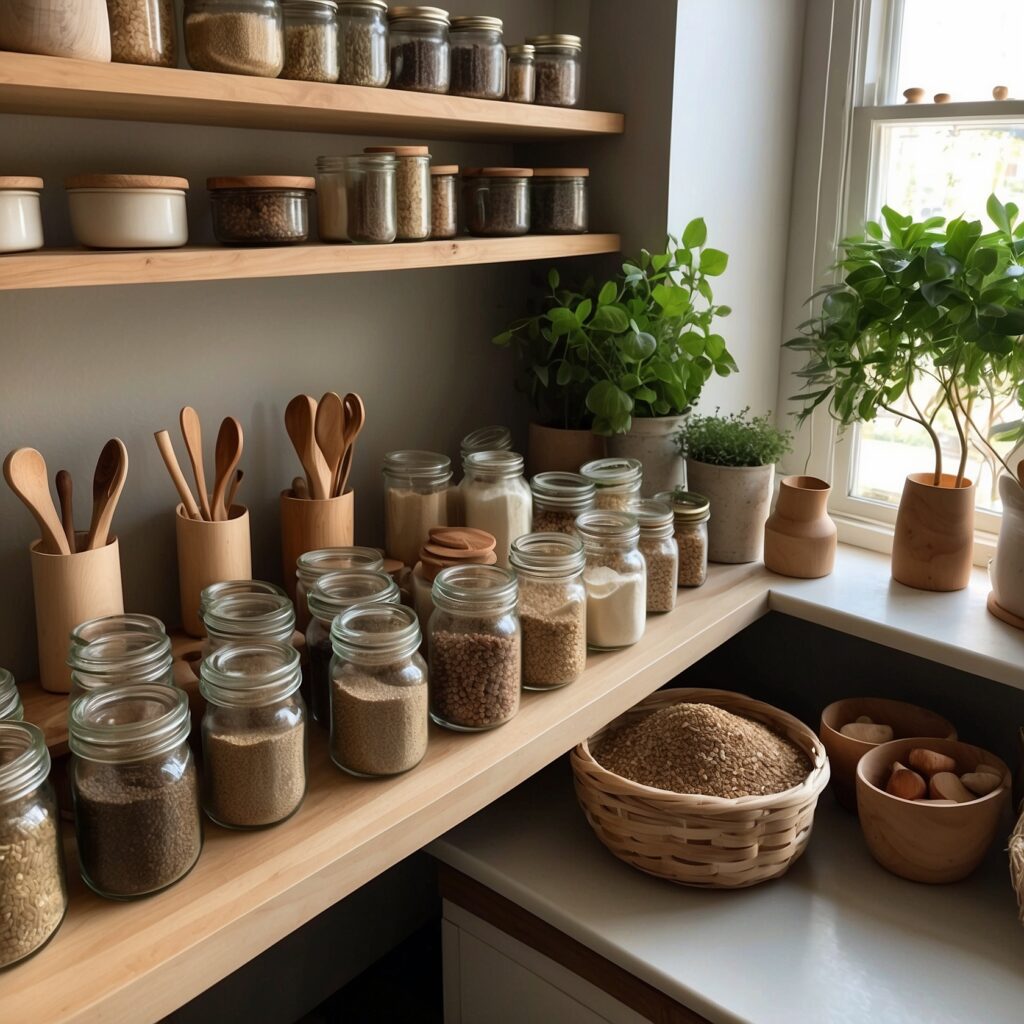
Step 1: Conduct a Kitchen Waste Audit
You know what finally pushed me to do my first kitchen waste audit? Finding three half-empty bags of spinach decomposing in my fridge on the same day! Talk about a wake-up call. After helping hundreds of families analyze their kitchen waste, I’ve learned that understanding what you’re throwing away is the key to making lasting changes.
Getting Started with Your Audit
To begin, grab a notebook and start documenting everything that goes into your kitchen trash for one week. I know it sounds a bit gross (and yes, my teenage son still teases me about being the “garbage detective”), but this step is absolutely crucial!
Here’s the simple system I use with my workshop participants:
Set up three boxes or bags:
- Food waste (both spoiled and scraps)
- Packaging materials
- Paper products and disposables
Each time you throw something away, write down:
- What the item is
- Why it’s being tossed
- Approximate cost
- Could it have been avoided?
Common Waste Culprits
Let me share what I typically find in most kitchens (and yeah, I found all of these in my own kitchen too!):
Food Waste Heroes:
- Half-eaten leftovers (forgotten in the back of the fridge)
- Wilted produce (those sad carrots in the bottom drawer)
- Expired condiments
- Stale bread
- Unused herbs
Packaging Offenders:
- Plastic produce bags
- Food wrap and foil
- Takeout containers
- Single-serve snack packaging
- Beverage containers
Paper and Disposables:
- Paper towels (so many paper towels!)
- Napkins
- Coffee filters
- Disposable cleaning wipes
- Zip-top bags
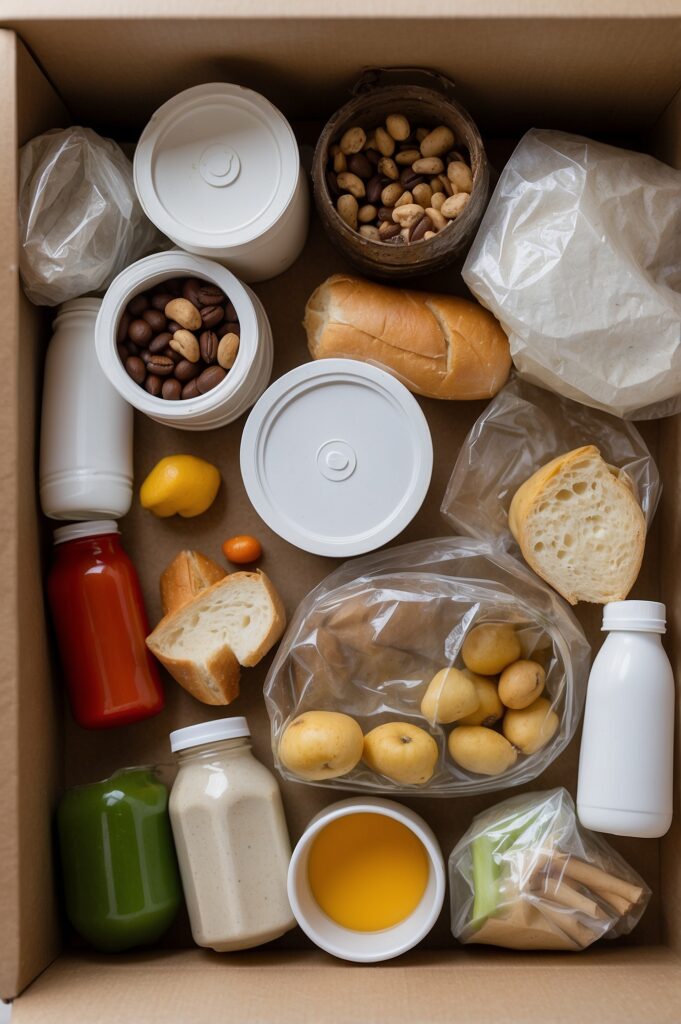
Creating Your Inventory Sheet
I learned this trick from a professional chef – make it stupid simple! Here’s my basic tracking template example:
| Date | Item | Category | Cost | Reason | Preventable? |
| Monday | Half bag spinach | Food | $2.50 | Forgot about it | Yes |
| Tuesday | Paper towels | Disposable | $0.50 | Spill cleanup | Yes |
Quick-Win Opportunities
Here’s where it gets exciting! After your week-long audit, look for patterns. In my kitchen, I discovered I was throwing away about $30 worth of produce every week simply because I couldn’t see what was in my crisper drawers. A clear container system solved that problem instantly!
Common quick wins I’ve found:
- Switch to cloth napkins (saves about $80/year)
- Use reusable containers (saves $100-200/year)
- Proper produce storage (saves $400-600/year)
- Meal planning (saves $1000+/year)
- Bulk buying (saves 30-50% on pantry items)
Calculating Your Savings Potential
This is the fun part that gets everyone motivated! Take your audit results and do some simple math:
Weekly waste cost × 52 = Annual waste cost
In my case with family of two adults and three children:
- Food waste: $45/week × 52 = $2,340/year
- Paper products: $15/week × 52 = $780/year
- Packaging: $10/week × 52 = $520/year Total potential savings: $3,640/year!
The numbers don’t lie – and they’re usually pretty shocking! When I show families how much they could save, their eyes get huge. One of my students saved enough through waste reduction to fund her family’s summer vacation!
Remember, your first waste audit isn’t about perfection – it’s about awareness. Think of it as a treasure map pointing you toward opportunities for improvement (and savings!). The most successful zero waste journeys start with understanding exactly where you’re starting from.
I still do a quick waste audit every few months, just to keep myself honest and identify new areas for improvement. It’s amazing how those small changes add up to big impacts over time!
Step 2: Set Up Your Zero Waste Storage System
Let me tell you about my first attempt at zero waste storage – I enthusiastically dumped all my dry goods into beautiful glass jars, forgot to label them, and spent the next month playing “guess what’s in this container?” Want to know how many times I confused powdered sugar with flour? Too many! Let me save you from making the same mistakes.
Essential Containers: Your Kitchen Foundation
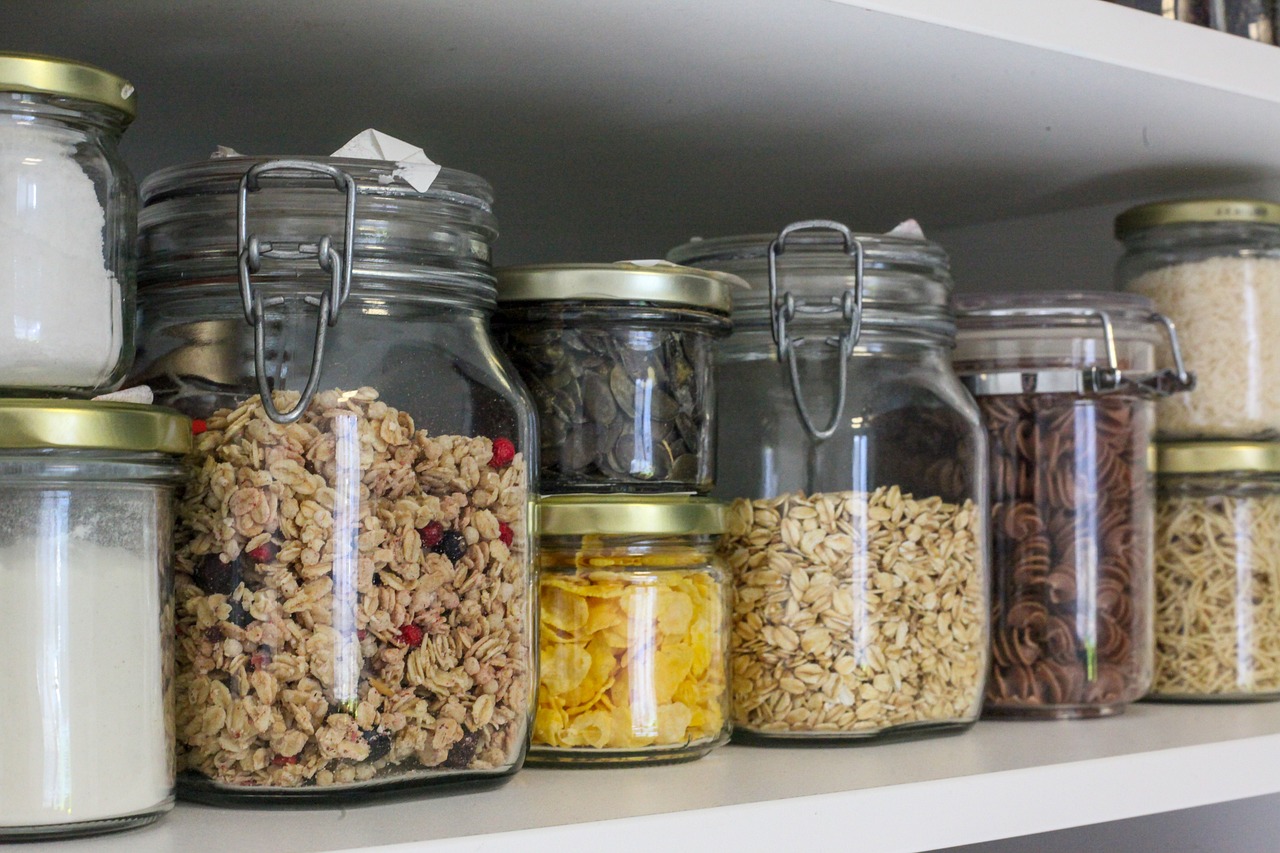
First up, let’s talk about what you actually need (and no, you don’t have to buy everything new!). Here’s what I’ve found works best after years of trial and error:
For Dry Goods:
- Wide-mouth mason jars (perfect for flours, sugars)
- Medium glass jars (great for pasta, rice, beans)
- Small jars (ideal for spices and tea)
- Large containers (for bulk items like cereal)
Pro Tip: Start by saving pasta sauce jars, pickle jars, and other glass containers from your regular shopping. I built my entire collection this way and saved hundreds of dollars!
Bulk Storage Solutions That Actually Work
Listen, I learned this the hard way – not all storage solutions are created equal! Here’s what I’ve found works best for different items:
Pantry Staples:
- Airtight containers for flours and grains (prevents bugs!)
- Clear containers to see what’s running low
- Stack-friendly shapes to maximize space
- Different sizes for different needs
My favorite money-saving hack? I check thrift stores regularly for large glass containers. Found a fantastic set of vintage Pyrex last month for just $12!
Produce Storage Techniques
This is where I see most people struggle (and waste money). Here’s my tried-and-true system:
Counter Storage:
- Breathable baskets for onions, garlic
- Fruit bowl for ripening items
- Wire baskets for air circulation
- Dark spots for potatoes
Fridge Organization:
- Glass containers with ventilation
- Produce bags with different moisture levels
- Ethylene-sensitive food separation
- Clear containers for visibility
Here’s a game-changing tip: Store herbs like flowers in a jar with water and a loose bag over top. They last three times longer this way!
Organizing Your Pantry for Success
Remember my powdered sugar incident? Here’s how to avoid that and create a system that actually works:
Zone System:
- Baking supplies together
- Breakfast items in one spot
- Snacks at eye level
- Backup supplies in back
Vertical Organization:
- Heaviest items on bottom
- Most-used items at eye level
- Light items up top
- Clear containers facing forward
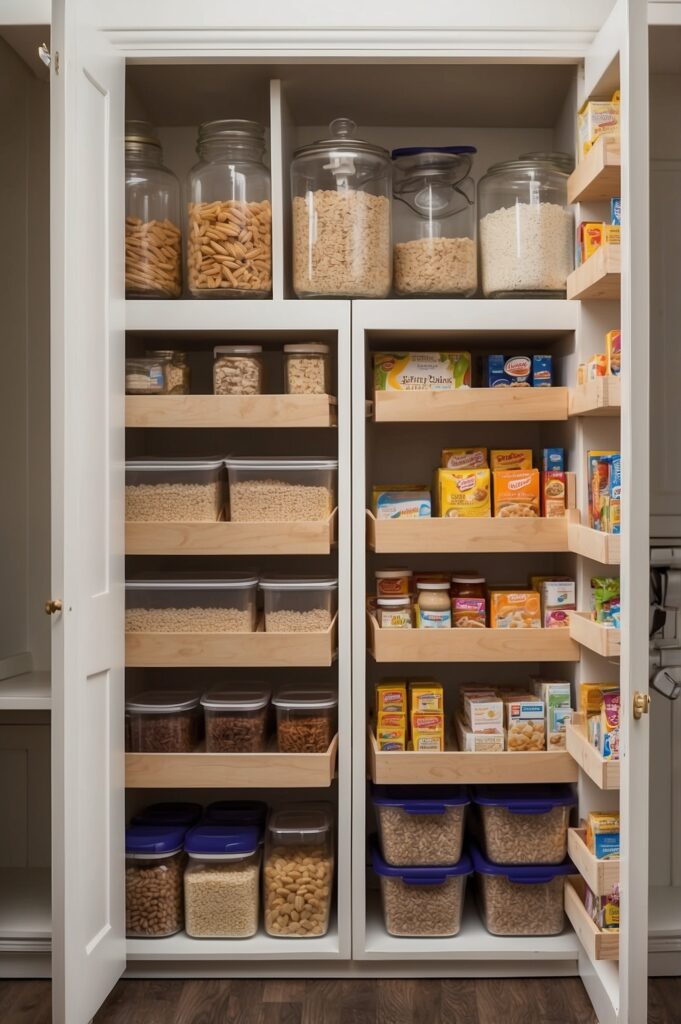
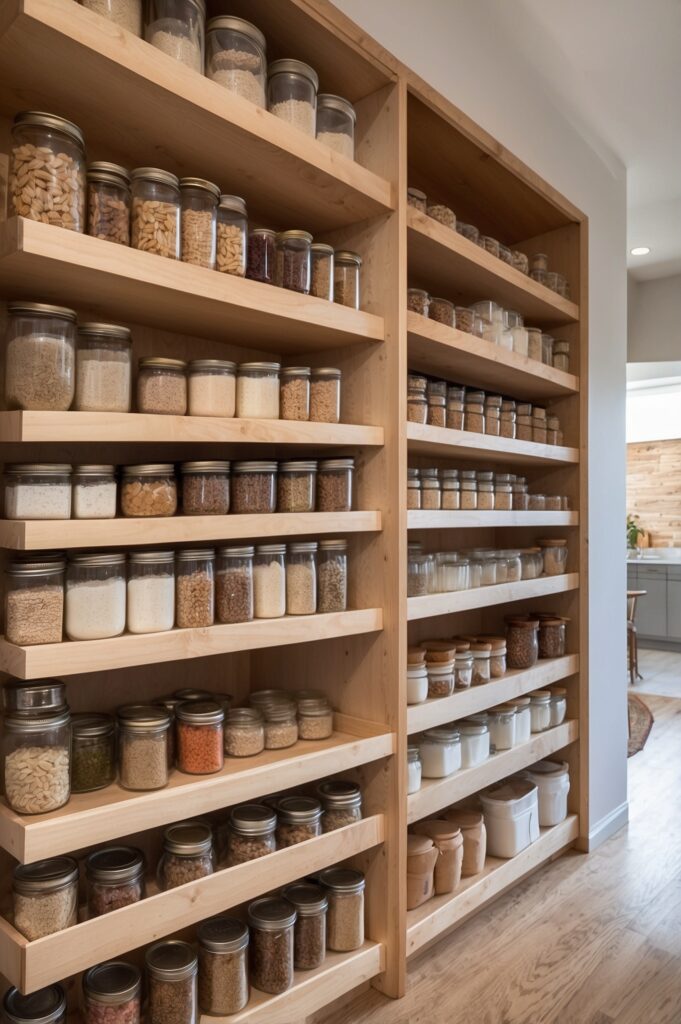
I keep a small stepstool handy because, let’s be real, none of us are tall enough to reach that top shelf comfortably!
Label and Inventory Magic
This is the secret sauce that keeps everything running smoothly. Trust me, you don’t want to confuse baking soda with baking powder!
Essential Labels:
- Item name
- Date purchased
- Storage instructions
- Expiration date (if applicable)
I use a simple whiteboard marker on my jars – it wipes off easily and I can update dates as needed. No fancy label maker required!
Inventory System: Here’s my super simple method:
- Weekly quick scan of supplies
- Monthly deep check
- Running shopping list
- Minimum quantity marks on containers
This is the secret sauce that keeps everything running smoothly. Trust me, you don’t want to confuse baking soda with baking powder!
Pro Tip: Draw a line on your containers showing the minimum amount you need. When contents drop below the line, add it to your shopping list!
Temperature and Light Considerations
Getting Your Family On Board
This might sound fussy, but it matters! Here’s what I’ve learned:
- Keep oils away from heat
- Store nuts and seeds in dark spots
- Protect flour from moisture
- Consider room temperature fluctuations
I learned about temperature the hard way when I stored olive oil next to the stove. Spoiler alert: It went rancid way too quickly!
The best system is one everyone will use! Some tricks that worked for my family:
- Clear labels even kids can read
- Easy-to-open containers
- Step-by-step photos for refilling
- Designated snack zone
My youngest used to hate our “fancy” containers until I showed him how much easier it was to pour cereal from them – now he’s our biggest organization advocate!
What’s really cool is watching this system evolve. I started with just a few jars, and now my entire pantry is organized, efficient, and actually saves us money because we can see exactly what we have and what we need.
Step 3: Replace Disposable Kitchen Items
You want to hear something funny? When I first decided to ditch paper towels, my wife actually went out and secretly stashed rolls in his car! Six months later, she admitted she hadn’t touched them once. That’s the thing about replacing disposables – it seems scary until you realize the alternatives actually work better!
Breaking Up with Paper Towels
Let me tell you about the system that finally worked for my family of four. I started with just 12 “unpaper” towels, and honestly? It was way easier than I expected. We set up a simple color-coding system for different uses:
- Dark ones for floors and spills
- Light ones for hands and dishes
- Microfiber for windows and mirrors
- Small basket under the sink for dirty ones
Pro Tip: Old t-shirts make amazing cleaning rags. I started cutting up my wife’s worn-out undershirts, and they’re the perfect thickness for spills. Best of all? They’re completely free!
Reusable Food Storage Solutions
Oh boy, did I learn this one through trial and error! Remember when I tried storing soup in a mason jar without leaving space for expansion? My freezer looked like a crime scene! After countless experiments (and a few mishaps), I’ve discovered what actually works for different storage needs.
For fresh food, I rely heavily on glass containers with snap lids – they’re perfect for leftovers and keep everything visible in the fridge. Silicone bags have become my go-to for produce storage, while beeswax wraps work beautifully for cheese and bread. When it comes to freezer storage, I’ve learned that wide-mouth mason jars are fantastic, as long as you remember to leave plenty of headspace for expansion (trust me on this one!).
Here’s my actual cost breakdown from switching to reusables:
Paper Products to Cloth:
- Paper towels ($120/year) → Cloth napkins ($20 one-time)
- Plastic wrap ($50/year) → Beeswax wraps ($25 one-time)
- Zip bags ($80/year) → Silicone bags ($40 one-time) Total first-year savings: $165!
Sustainable Cleaning Supply Revolution
You know what I’ve learned after years of experimenting? You really don’t need a cabinet full of different cleaning products. My entire cleaning arsenal consists of a simple all-purpose cleaner made from white vinegar, water, and citrus peels in a glass spray bottle. Here’s a game-changing tip: infuse the vinegar with citrus peels for two weeks before mixing with water – it completely transforms that harsh vinegar smell into something fresh and pleasant.
For tougher jobs, a simple paste of baking soda works wonders. I keep a mixture with a few drops of essential oil in a mason jar, and it works better than any commercial scrub I’ve ever tried, especially on stubborn pot stains and sink marks. A few coconut fiber scrubbers and washable cleaning cloths round out my cleaning kit, and honestly? My kitchen has never been cleaner.
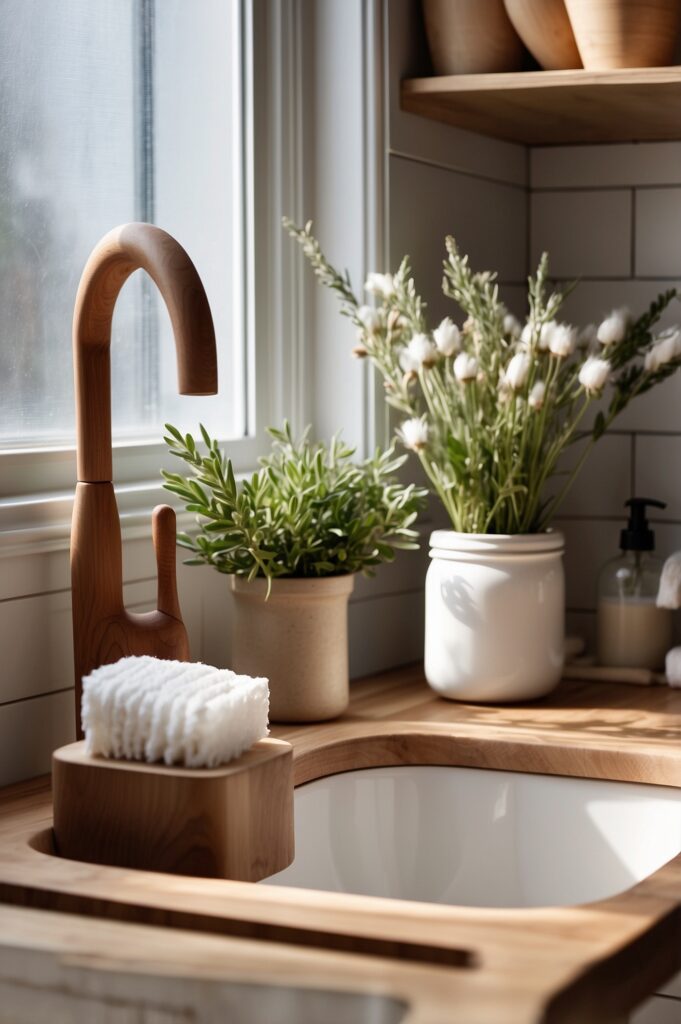
Zero Waste Dish Washing System
This was a game-changer for our kitchen! I’ve found that a simple setup works best for dish washing:
Washing Station Essentials:
- Wooden dish brush
- Soap bar or bulk liquid soap
- Cotton dishcloths
- Drying rack
- Reusable scrubbers
My Secret Weapon: I keep a small glass jar of baking soda next to the sink for tough pots. Works better than any commercial cleaner I’ve tried!
Dealing with Real-Life Situations
Let’s talk about the stuff nobody mentions – like what to do when guests come over or during emergencies. I’ve learned to keep a small stash of paper products tucked away for special circumstances, like power outages or when someone’s sick. The key is making your reusable system so convenient and obvious that everyone naturally reaches for it first.
When it comes to family resistance, I’ve found that starting small is crucial. We began with just one swap – replacing paper towels with cloth – and let everyone adjust before moving on. Showing the cost savings really helped get my budget-conscious wife on board, and even our kids eventually came around when they realized how much easier it was to clean up spills with cloth.
Making the Transition Easy
The key is gradual change. Here’s my recommended order:
- Switch paper towels to cloth
- Replace plastic wrap with alternatives
- Upgrade food storage containers
- Transform cleaning supplies
- Revamp dish washing routine
Step 4: Establish a Food Management System
Some days you might need to use a paper towel, and that’s okay! The changes you maintain consistently are far more important than doing everything perfectly. I still remember the day I realized we hadn’t bought paper towels in six months – it wasn’t even hard! Now our kitchen not only creates less waste, but it actually works better than before.
Let me share a painful memory that changed how I manage food forever: finding three containers of moldy spaghetti in the back of my fridge – all from the same week! That was $15 and several perfectly good containers wasted. After that embarrassing discovery, I developed a system that’s saved my family over $400 monthly on groceries and virtually eliminated our food waste.
Smart Meal Planning That Actually Works
You know what I’ve discovered? The best meal plan is one you’ll actually follow. I used to create elaborate weekly plans that looked Pinterest-perfect but left me ordering takeout by Wednesday. Now I use what I call the “flexible framework” method. Instead of planning specific meals for each day, I plan 3-4 main dishes that can be mixed and matched throughout the week.
Here’s my simple approach: I plan one soup or stew, one grain-based dish, one protein-focused meal, and one “clean out the fridge” stir-fry night. This gives us plenty of options while keeping waste to a minimum. The game-changer? I always check my inventory before planning – no more buying duplicate ingredients!
Shopping Like a Zero Waste Pro
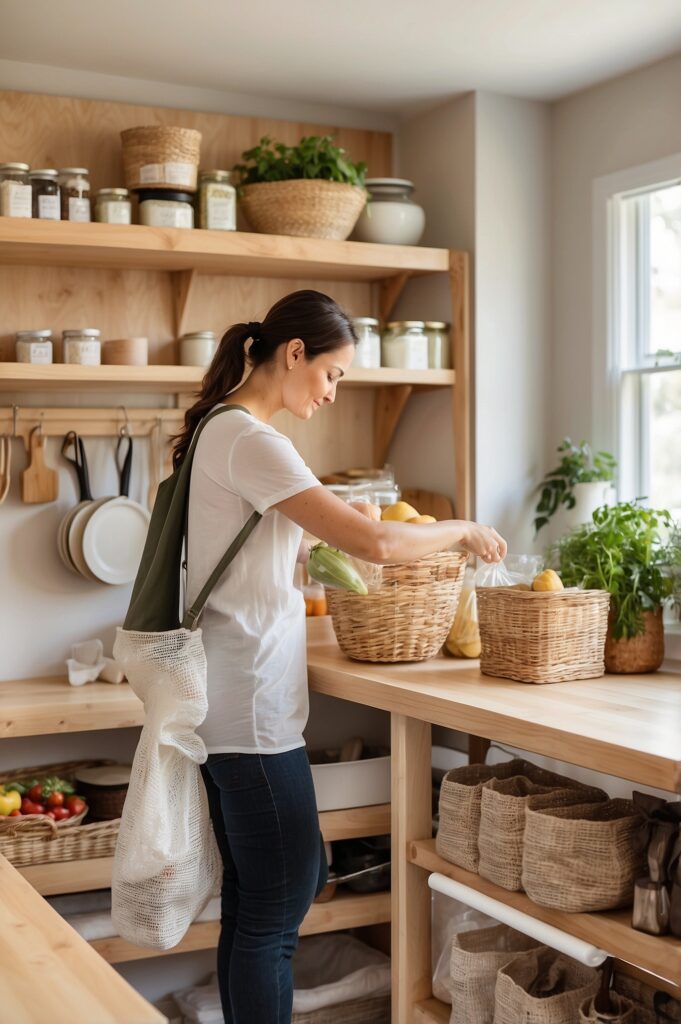
After years of trial and error, I’ve developed a shopping routine that works like magic. Before heading to the store, I do a quick “shop my kitchen” first. You wouldn’t believe how many times I’ve almost bought more pasta when we had three boxes hiding in the back of the pantry!
My Pre-Shopping Checklist:
- Take inventory of what we have
- Check meal plan ingredients
- Bring reusable containers
- Pack produce bags
- Review store layout for efficient shopping
Food Storage Secrets That Save Money
Let me tell you about the storage system that revolutionized my fridge. I created what I call “zones” – and they’ve completely eliminated the dreaded “what’s that smell?” hunt. The front of each shelf is for “eat first” items, the middle for new ingredients, and the back for longer-lasting items.
Temperature matters more than you might think! After learning that my crisper drawers had different humidity settings, my leafy greens started lasting twice as long. I keep herbs in glass jars with a bit of water, like flowers, and they stay fresh for weeks instead of days.
Inventory Management Made Simple
Remember that moldy spaghetti incident? Never again! Now I use a simple whiteboard on my fridge with three sections:
- Use This Week
- Freeze Soon
- Need to Buy
Every Sunday, I spend 10 minutes updating this list, and it’s cut our food waste by about 80%. Plus, it makes meal planning so much easier when you know exactly what needs to be used up.
The Art of Leftover Transformation
This is where the real magic happens! Instead of letting leftovers languish in the fridge, I’ve learned to see them as ingredients for new meals. That leftover roasted chicken becomes tomorrow’s chicken salad or goes into a soup. Extra rice transforms into fried rice with whatever vegetables need using up.
My Favorite Leftover Makeovers:
- Cooked grains → Grain bowls or stir-fries
- Roasted vegetables → Frittatas or quiche
- Extra proteins → Salads or sandwiches
- Wilting herbs → Pestos or sauces
- Stale bread → Croutons or breadcrumbs
Weekly Reset Routine
Sunday evenings have become my kitchen reset time. I take 30 minutes to:
- Check all perishables
- Plan meals around what needs using
- Prep any vegetables starting to turn
- Update the inventory board
- Make a shopping list
This simple routine has become almost meditative, and it sets us up for success all week long.
Dealing with Unexpected Changes
Life happens, right? Maybe a dinner gets canceled or you end up working late. I always keep a “backup meal” in the freezer for those nights when plans change. Having this safety net prevents last-minute takeout orders and helps use up ingredients before they go bad.
The most important thing I’ve learned about food management is that flexibility is key. Some weeks you’ll follow your plan perfectly, others you’ll need to adapt. The goal isn’t perfection – it’s progress toward less waste and better food management.
And here’s my favorite tip: Start small! Pick one aspect of food management to focus on first. Maybe it’s just tracking what you throw away, or perhaps it’s starting a simple meal planning routine. Once that becomes habit, add another layer to your system.
Step 5: Create a Zero Waste Shopping Routine
The first time I attempted zero waste shopping, I showed up at the bulk store with a mismatched collection of containers, forgot to weigh them first, and ended up having to do some pretty creative math at the checkout! Today, I’ve got a streamlined system that saves both time and money, and I’m excited to share what really works.
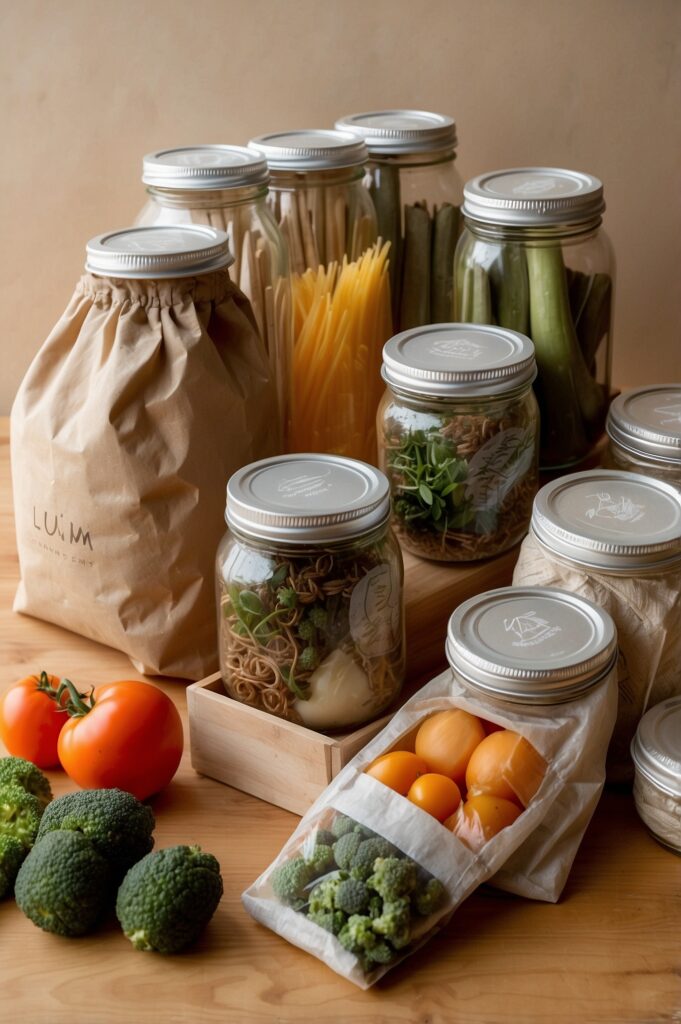
Building Your Zero Waste Shopping Kit
Let me tell you about the kit that’s saved me from countless “oops, I forgot my bags” moments. I keep everything in a large canvas tote right by my front door, and it’s become as essential as grabbing my keys when I leave the house.
Essential Kit Components:
- 3-4 large shopping bags
- 5-6 produce bags in different sizes
- Mason jars for bulk liquids
- Lightweight cloth bags for dry goods
- Small container for deli items
- Marker for writing codes
Pro Tip: Keep a backup kit in your car! Trust me, this has saved me more times than I can count.
Finding Your Zero Waste Shopping Spots
This part took some detective work, but it was worth it! I discovered that many conventional grocery stores have bulk sections hiding in plain sight. I learned to look for stores that offer bulk dry goods sections, fresh produce without packaging, and deli counters that accept reusable containers. Some even have bulk spice options and refill stations for cleaning supplies. Don’t overlook traditional grocery stores – you might be surprised by what they offer!
Navigating Packaging Symbols and Making Smart Choices
Let’s decode those mysterious symbols on packaging! After years of confused squinting at recycling symbols, I’ve learned to look beyond the basic triangle. What really matters is understanding which materials your local recycling facility actually accepts. I called mine and learned they only take certain types of plastic – information that completely changed my shopping choices.
I now prioritize my purchases in this order:
- No packaging
- Paper or glass packaging
- Plastic only as last resort
Smart Money-Saving Strategies
Here’s something that surprised me: shopping zero waste actually saves money! I track our grocery spending, and we’re saving about 30% compared to our pre-zero waste days. The key is to compare price per unit rather than package price, and to buy frequently used items in larger quantities. I’ve also found that splitting bulk purchases with friends can lead to significant savings. Keeping track of seasonal price fluctuations helps me know when to stock up on certain items.
The Real-World Shopping Process
Let me walk you through my typical shopping trip. Before leaving home, I check my inventory and meal plan, then grab my kit. At the store, I follow a specific sequence that makes everything easier:
Shopping Trip Sequence:
- Get containers weighed at customer service
- Fill containers starting with dry goods
- Move on to spices and liquids
- Add fresh produce last to prevent crushing
Avoiding Common Zero Waste Shopping Pitfalls
Remember my first bulk shopping disaster? I’ve learned a few tricks since then. Always write down the product codes immediately – trying to remember multiple codes at checkout is a recipe for confusion. I keep a small notebook in my shopping kit just for this purpose.
I also learned to start small. Don’t try to buy everything package-free on your first trip. Start with a few basic items you use regularly, then gradually expand your zero waste purchases as you get comfortable with the process.
Dealing with Limited Options
Not everyone has access to fancy bulk stores, and that’s okay! I’ve found that even at conventional grocery stores, you can make better choices by selecting loose produce over pre-packaged items, choosing glass or paper packaging when possible, and opting for larger sizes instead of individual portions. The key is to look for minimal packaging options and support stores that allow reusable containers.
Seasonal Shopping Strategies
One of my favorite discoveries was learning to shop seasonally. Not only does seasonal produce usually come with less packaging, but it’s also cheaper and fresher! I keep a simple seasonal produce guide on my phone, which helps me make better choices and save money throughout the year.
Building Store Relationships
Don’t be shy about talking to store managers and staff! When I politely asked my local deli if they’d accept my containers, they were surprisingly open to it. Now several other customers do the same thing. Sometimes all it takes is one person to start a positive change.
Some weeks you’ll forget your bags or have to buy something in packaging, and that’s okay! The goal is to gradually reduce waste while building sustainable habits that work for your lifestyle.
Start with one small change this week. Maybe it’s bringing your own produce bags or buying one item in bulk. Before you know it, you’ll be navigating zero waste shopping like a pro, saving money, and reducing waste one shopping trip at a time!
Step 6: Set Up Your Composting System
Would you believe my first composting attempt attracted every raccoon in the neighborhood? After that memorable (and slightly chaotic) learning experience, I’ve figured out how to make composting both simple and critter-proof. Let me share what really works!
Choosing the Right Composting Method
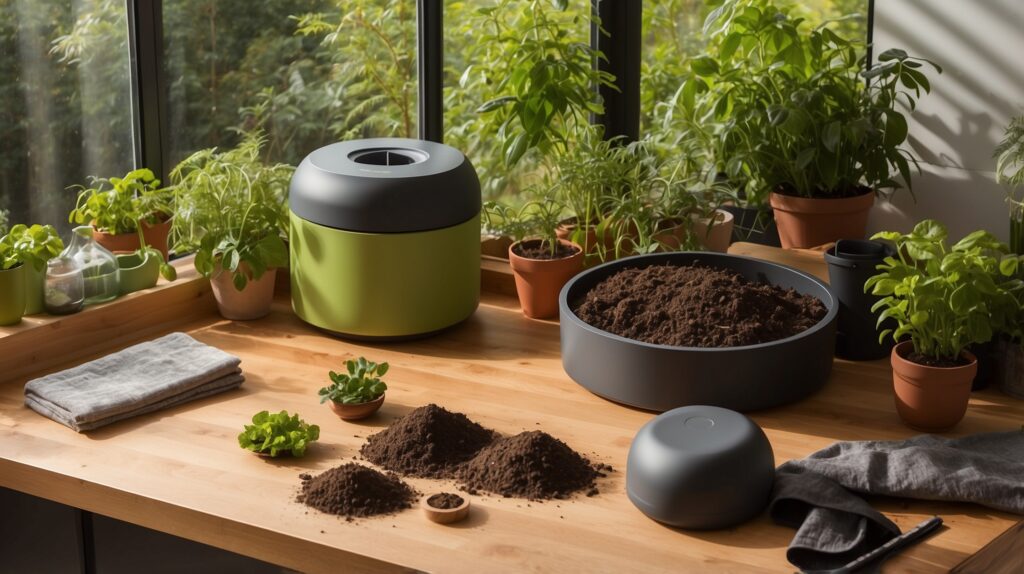
After trying various methods over the years, I’ve learned that the best composting system is the one you’ll actually use. For beginners, I recommend starting with a simple enclosed bin. I started with an indoor countertop collection system paired with an outdoor tumbler, and it’s been perfect for our family of four.
Your composting choice really depends on three main factors: available space, amount of food waste, and how much time you can dedicate to maintenance. A household like mine, producing about 5-6 cups of food scraps daily, does great with a medium-sized tumbler. Apartment dwellers might prefer a compact worm bin, while those with large yards could go for an open pile system.
Kitchen Compost Collection
Let me share my simple but effective kitchen setup. I keep a small stainless steel container with a charcoal filter lid on the counter – it’s actually attractive enough to leave out! Here’s what makes this system work seamlessly:
Essential Collection Items:
- Counter container with lid
- Compostable liner bags (optional)
- Small scoop or spatula
- Collection schedule
- Backup container
What Goes In The Bin?
This is where people often get confused, so let me break it down into an easy-to-reference list:
Yes to Compost:
- Fruit and vegetable scraps
- Coffee grounds and filters
- Tea bags (remove staples)
- Eggshells
- Plain bread and grains
- Yard waste and leaves
No to Compost:
- Meat or fish
- Dairy products
- Oils and fats
- Diseased plants
- Pet waste
- Chemically treated wood products
Troubleshooting Common Problems
Let me tell you about the time my compost pile started smelling like rotten eggs – not fun! But every composting challenge has a simple solution. When your pile gets too wet, add more brown materials like leaves or paper. If it’s not breaking down quickly enough, chop materials into smaller pieces and add more greens like grass clippings.
The key to successful composting is maintaining the right balance of green materials (nitrogen-rich) and brown materials (carbon-rich). I aim for roughly three parts brown to one part green. Think of it like making a lasagna – you want layers of different materials rather than clumps of the same thing.
Common issues I’ve encountered and solved: Your compost is too wet? Add more browns and ensure proper drainage. Smelling bad? You probably need more browns and better aeration. Not decomposing? Try chopping materials smaller and adding more greens. Attracting pests? Make sure you’re not composting any meat, dairy, or oils, and bury food scraps under brown materials.
Using Your Compost
Here’s where all your effort pays off! After about 3-6 months (depending on your method and maintenance), you’ll have beautiful, rich compost ready to use. I add it to my garden beds in spring and fall, mix it into potting soil for containers, and use it to top-dress my houseplants.
The transformation from kitchen scraps to garden gold still amazes me. Last year, the tomatoes I grew in compost-enriched soil produced so abundantly that I was giving them away to neighbors! Plus, there’s something deeply satisfying about completing the food cycle – from garden to kitchen and back again.
My Top Composting Tips:
- Start small and simple
- Keep your collection container convenient
- Maintain a good brown-to-green ratio
Success comes from building consistent habits. I empty my kitchen container every couple of days, give the outdoor bin a quick turn when I add materials, and do a more thorough check once a week. This simple routine keeps everything running smoothly with minimal effort.
Every banana peel and coffee ground can become nutrition for next season’s garden. Even if you don’t have a garden, finished compost is a valuable resource that many community gardens would love to have.
Step 7: Maintain Your Zero Waste Kitchen
When I first started my zero waste journey, I tried to deep clean and reorganize my entire kitchen every single week! I burned out after two weeks. Now I’ve developed a much more sustainable routine that actually works with real life, and I’m excited to share it with you.
Daily Zero Waste Habits That Stick
The key to maintaining a zero waste kitchen isn’t perfection – it’s building simple habits that become as natural as brushing your teeth. I’ve developed a morning and evening routine that takes just minutes but keeps everything running smoothly.
Morning Routine:
- Quick fridge check before breakfast
- Pack snacks/lunch in reusables
- Empty compost if needed
- Wipe counters with cloth
- Check water bottle
Evening Flow:
- Clean as you cook
- Store leftovers properly
- Prep tomorrow’s items
- Quick inventory scan
- Set out reusables for morning
Weekly Maintenance Magic
Sunday evenings have become my kitchen reset time, and it’s actually turned into a peaceful ritual I look forward to. I put on some music, make a cup of tea, and spend about 30 minutes getting organized for the week ahead. I check what needs to be used up in the fridge, plan meals around those items, and make sure all our reusables are clean and ready to go.
The Deep Clean Monthly Reset
Once a month, usually on the first weekend, I do what I call my “kitchen love session.” It’s more thorough than weekly maintenance but not as intense as my original over-ambitious plan. I check all storage containers for damage, clean jar lids thoroughly, and reorganize any areas that have gotten chaotic. This is also when I evaluate what’s working and what needs tweaking in our zero waste systems.
Seasonal Updates and Rotations
Each season brings its own challenges and opportunities for a zero waste kitchen. In summer, I focus on proper produce storage and preservation methods. Fall is perfect for organizing bulk storage for winter. Winter means setting up hot drink stations with reusable options, and spring calls for a thorough clean-out and refresh.
Tracking Progress and Success
Here’s a simple tracking system that keeps me motivated without becoming overwhelming. I maintain a small notebook where I jot down three things:
Monthly Tracking Points:
- Grocery spending
- Trash bag count
- New zero waste swaps
This simple data has revealed some amazing progress – we’ve cut our kitchen waste by 85% and our grocery bill by 30% over two years! Nothing motivates quite like seeing those real numbers.
Dealing with Real-Life Challenges
Let’s be honest – life gets messy sometimes! Maybe you’ve had a crazy work week, or the kids are sick, or you’re just plain tired. During these times, I fall back on what I call my “minimum maintenance mode”:
- Keep up with basic cleaning
- Maintain food storage properly
- Continue composting
- Let everything else slide temporarily
When life settles down and you’re ready to get back on track, don’t try to do everything at once. Start with the basics: clean out the fridge, check your stored items, and gradually rebuild your routines. Remember, this is a marathon, not a sprint!
Involving Family Members
Making your zero waste kitchen sustainable long-term means getting everyone on board. I’ve found that assigning specific tasks works better than general requests. My kids are in charge of sorting containers, my wife handles composting, and I manage meal planning and shopping. When everyone has clear responsibilities, the system runs much more smoothly.
Celebrating Success

Don’t forget to celebrate your victories, no matter how small! Every piece of waste prevented, every dollar saved, every new habit formed is a win. I keep a “victory journal” where I note our zero waste successes, both to stay motivated and to track our progress over time.
Remember, maintaining a zero waste kitchen isn’t about being perfect – it’s about making consistent, sustainable choices that work for your lifestyle. Some weeks will be better than others, and that’s completely okay. The goal is progress, not perfection.
Ready to create your maintenance routine? Start with one daily habit and build from there. Before you know it, your zero waste practices will become second nature!

Pingback: Zero-Waste Lifestyle Beginners Guide: 30 Days Journey - EcoNewEra - Your Guide to Sustainable Living
Pingback: How to Do Zero-waste Shopping: Complete Guide - EcoNewEra - Your Guide to Sustainable Living